BACK
Irritated into learning: Figma Motion Step by Step

Away with the pesky assistants!
Since its release I’ve been using Figma’s Motion purely through the agent because the UI confused me and I just took the shortcut. Last week, I was bombarded by yet another pointless assistant while doing something outside of Figma and my anger reached boiling point.
No. I do not want your help. I Do Not Want It. بديييييييييييش. So I wasted an hour making this animation manually to learn how Motion works manually in protest against this horrible forced brain stagnation. So here’s a tutorial so you don’t have to figure it out yourself:
1. Prepare the frame: where I faced the first hurdle
Which means creating all the layers that will change to build up the animation. If you’re animating UI, you better make a copy of the original design frame for the animation, don’t work in the original unless you want to drive the devs (even more) crazy.
For the animation above for example, it looks like a single blurred circle moving as a spotlight to make the BG pattern visible wherever it goes. But…
…the BG pattern fill is a radial gradient and there is no way to change the gradient of a vector across keyframes! So I had to make a copy of the BG for each keyframe.
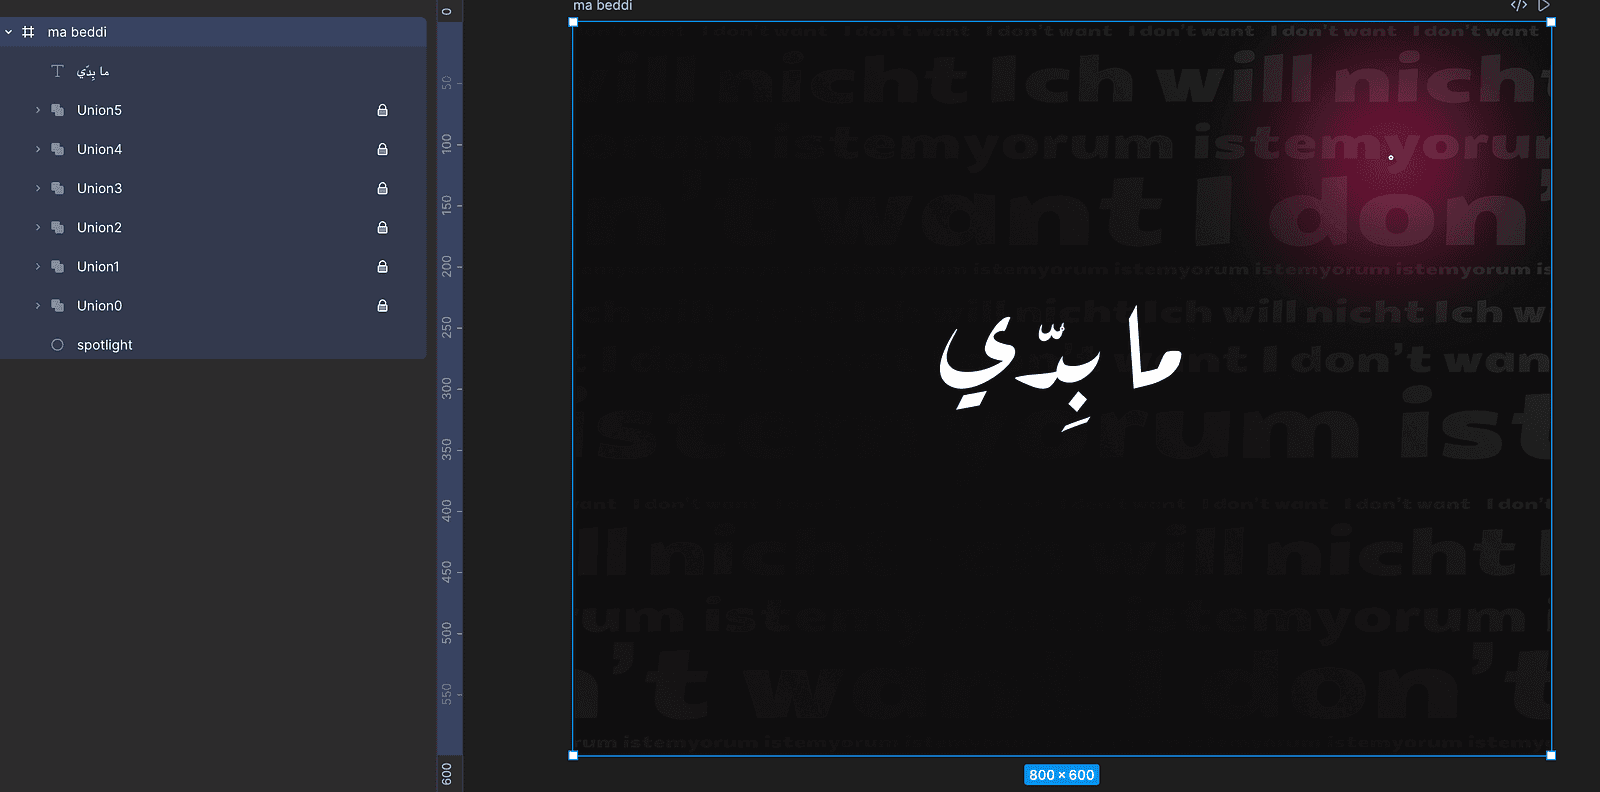
2. switch to Motion mode & decide what to animate
an animation is made by changing 1+ layers’ properties between two points in time (keyframes).
For example, changing the opacity or location for the same layer between 1st and 2nd keyframes make it move and show/hide.

Unlike Principle which I have used for microanimation all these years, In figma Motion we work inside a single frame, and keyframes live in the timeline.
3. keyframes (7 steps)
1. select the layer you want to animate. The spotlight for example.
2. add the current position as a keyframe with the blue timeline at 0.
This means ”make the position of this layer start here”

3. Move the blue line to the next point in time where the spotlight should reach the next point in the intended path.
4. then move the spotlight to the position it should be at in second frame, the click the diamond beside the position again to make a new keyframe with the spotlight in this position.
5. At the same time, we know the BG should show clearly where the spotlight is, in other words, the gradient changes. So in my case I need to hide (union0) which shows the BG behind first spotlight position and show (union1) which shows the BG behind spotlight in second position.


6. For every change between two keyframes, choose the easing curve to control the motion and fine-tune it as you imagined it.

7. Repeat until the spotlight closes the path (all keyframes are done).
4. Test & control duration & looping
In my case I started with 1 second increments then when I finished it felt too fast so I just stretched it a bit. That’s why the keyframes are not at sharp points in time. And the total duration stretched to 8 seconds.
Then I selected Loop to make the animation repeat infinitely, but you can make it play once or even ping pong start to end, end to start.

That’s it! easy no? Let’s do it ourselves next time, but feel free to use the agent for complex animations, or as a starting point. Just please don’t rely on it entirely…otherwise you will be burning tokens to make small changes you can make yourself. Protect your skills, your braincells and your budget.
Dear product owners forcing an AI assistant on us everywhere: بس خلص. Enough. ما بِدّي
Did this help you? if yes, I will be delighted!
‘till next time, lots of love and #keepdesigning
More